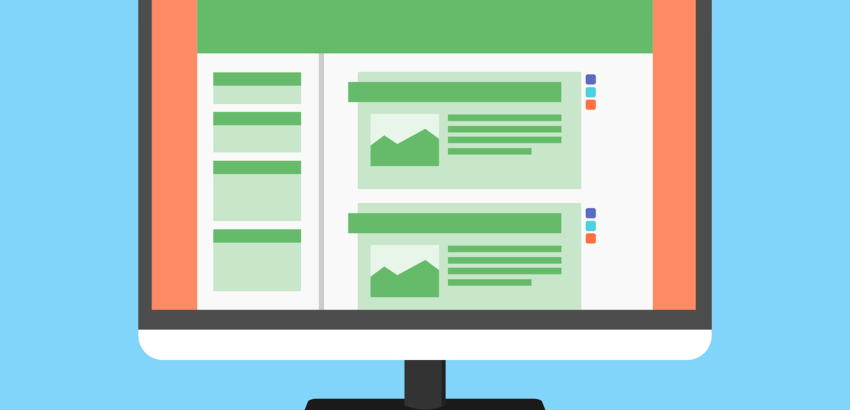
There are many reasons to add images on your website and blog posts. Besides illustrating your content, it makes your site look nicer, more user friendly and can help you with your SEO (Search Engine Optimization). You don’t want to have a boring page with just paragraphs and no images. It has been proven that adding images increase the chances of user engagement, social media sharing and can increase your site traffic. However, you need to do it right otherwise you won’t get the most benefits out of them. If your images are too large, it will make your page load slower and page load speed is an important factor for both user experience and SEO. You have to make sure you have rights to use your images, you can’t just do a Google search and grab images and put them on your site.
Where to find images for your site
You can use your own photos, design files or other creative sources and convert them into web friendly images. Not everyone has the time to take nice photos, or create images for each page. The good news is that you don’t have to, you can download images from sites that offer royalty free images. Royalty free images mean that you don’t have to pay for the right to use them on your site after you buy or acquire them. If there is a royalty then that means you need to pay for every time you use them. There are different licenses and rights so make sure you read the agreement before you purchase these images. Hint: Look for images on different sites and look for the author of images you like, sometimes you can find the same image on different sites for different prices!
Popular Paid Royalty Free Images
If you don’t want to pay for images, there are several sites that allow you to download images for free and use them on your site. They have fewer images available but I have been able to find some good ones for different topics.
Free Royalty Free Images
Create your own images
Sometimes you can’t just find that image/photo or you want to create an infographic and don’t know how to use Photoshop. There are several sites you can use to create your own images, they provide templates and tools to make it all easy. You can use these sites for images on your website, blog posts, social media profiles, email blasts and more.
Make sure your Images are the correct size
HTML allows you to take a large image and resize it to the correct size on your site. The problem is that the server is still showing the original large image, so avoid doing this as this makes your page slower. Or vice versa, you have a small image and you try to blow it up manually in HTML, this will make your image look blurry. Another bad scenario is when you force the image to a different ratio (height/width), it’s going to look out of proportion.
What you want to do is look at the space in pixels on your website and crop or edit your images to fit in that size and then add them to your site. Look at the next topic for available image editing tools to do this or try PIXresizer. If you want to use an image that takes up the entire width of your web page you are looking for a 1000+ pixel wide image and make sure your website can downscale it for smaller screens. Otherwise, you probably just need an image that is 800 pixels to 200 pixels wide depending on if it’s a wide image, half width image or smaller images.
Optimize your Images
Ok, so you created your image, resized it correctly, but your page is still too slow… This means you need to compress the image file but still keep the quality great. In an ideal world you want to keep images on your website under 70KB for large images and under 50KB for smaller images. If you are using Photoshop, you can use the “save for web” feature, lowering the size as much as you can without losing noticeable quality. There is a popular plugin for WordPress “SmushIt” which automatically optimize images for you when you upload them to the media library. Or you can download other tools to compress the file as much as you can, just Google “Compress Images” and you will find some like GIMP and tinyPNG.
Improve SEO with Images on your website
By now you have your images, it has the correct size, and it’s optimized for speed. Now what? To leverage all of this effort it’s important that it helps your SEO as much as possible. You need to:
- Make sure it has a logical descriptive filename that has the page keyword you are focusing on. how-to-add-images.jpg is better than image01.jpg
- Use hyphens and not underscores as a separator in the filename. how-to-add-images.jpg is better than how_to_add_images.jpg
- Add an ALT tag with the focus keyword to your site. This is an invisible HTML tag which search engines use to index your page.
- Add an HTML Title tag to the image which should describe the image and use keywords if relevant. People often put the same content in both the ALT and Title tag which is ok.
There you have it, I hope you found this article useful on what to consider when adding images on your website and blog posts. If you don’t have time for this and just want to leave this to the experts, then find out more about our website maintenance services.